I’m going to steer you through what you should know about the fundamental needs of a hamster’s habitat. It’s not just about providing a shelter; it’s also about crafting a space where your little buddy can thrive. Keep in mind, a hamster’s home is their castle – a place for sleep, play, and plenty of exercise.
So you want to ensure the cage is spacious enough. How spacious? A cramped abode can lead to stress and health issues for hamsters, so aim for a minimum of 450 square inches of uninterrupted floor space for each furry friend. Remember, when it comes to hamster homes, bigger really is better.
Now, on to the materials. Your choice of building materials matters a lot. Steer clear of anything that could harm your pet—say no to treated woods or certain metals that might rust. Instead, I’d recommend using acrylic, glass, or untreated wood—these are safer bets. If you’re going with mesh, those gaps should be tiny to avoid any Houdini-like escapes or unwanted injuries.
Let’s talk airflow. Don’t forget that proper ventilation is critical to your hamster’s health. Sufficient air exchange is necessary to prevent the buildup of ammonia from urine and to keep the air inside the cage from becoming stale. If you opt for materials like glass or plastic, it’s your job to incorporate plenty of ventilation holes or mesh panels.
Finally, it’s wise not to underestimate the escape artistry of your miniature pet. Securing all joints and ensuring doors or lids latch properly is key. You’d be surprised at the tiny gaps a determined hamster can wiggle through, so pay close attention to possible escape routes.

Designing a DIY Hamster Cage for Easy Access and Enrichment
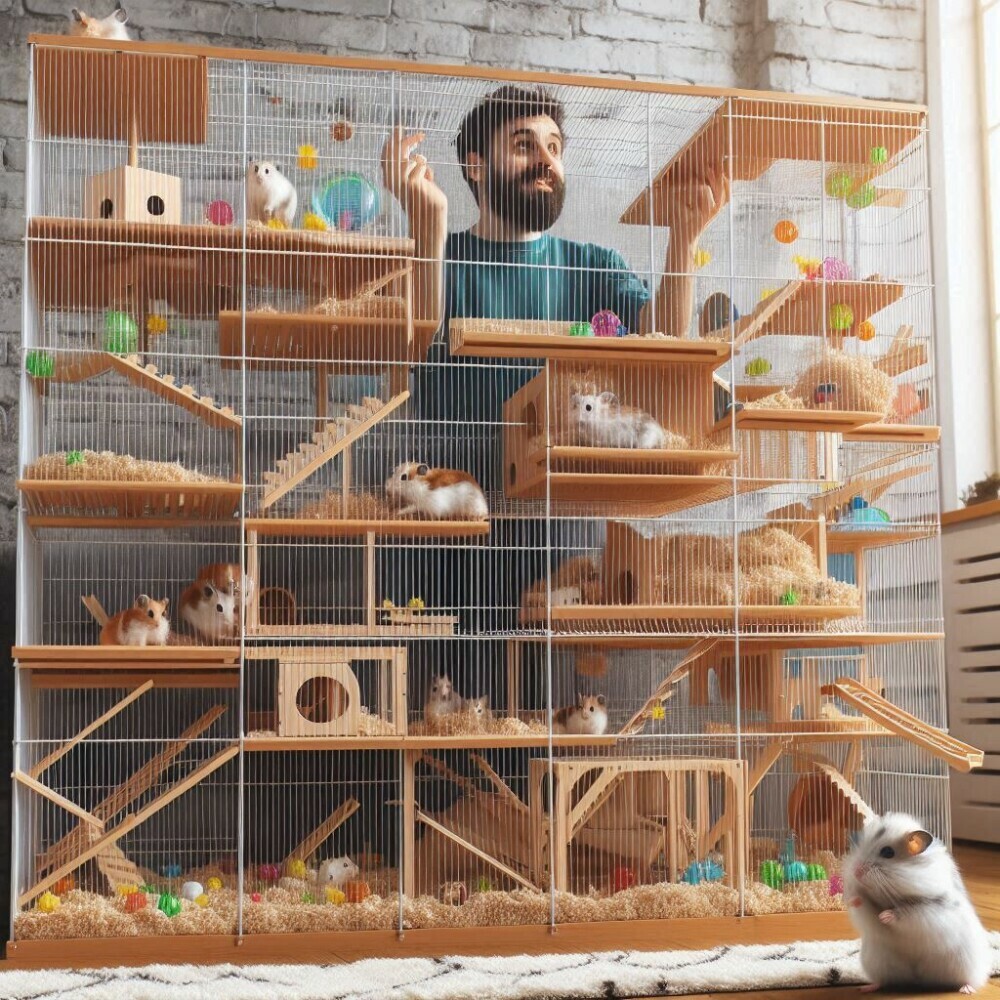
When designing your DIY hamster cage, it’s not just about making it look cool; ease of access and engaging features are key to keeping your little buddy happy and healthy. Let’s talk about accessibility first. You’re going to want to set up the cage so that cleaning, feeding, and cuddle time are hassle-free. That means large doors or removable panels are a must. Imagine this: instead of spending precious minutes trying to reach a corner of the cage, a simple swing-out door gives you immediate access.
Now, onto the fun stuff. Hamsters are little explorers and they thrive in environments that challenge them physically and mentally. Think multi-levels, with platforms that offer various heights and viewpoints for your hammy. Place some ramps or ladders between levels, but keep safety in mind; they should be sturdy and have something for those tiny feet to grip onto to prevent slips.
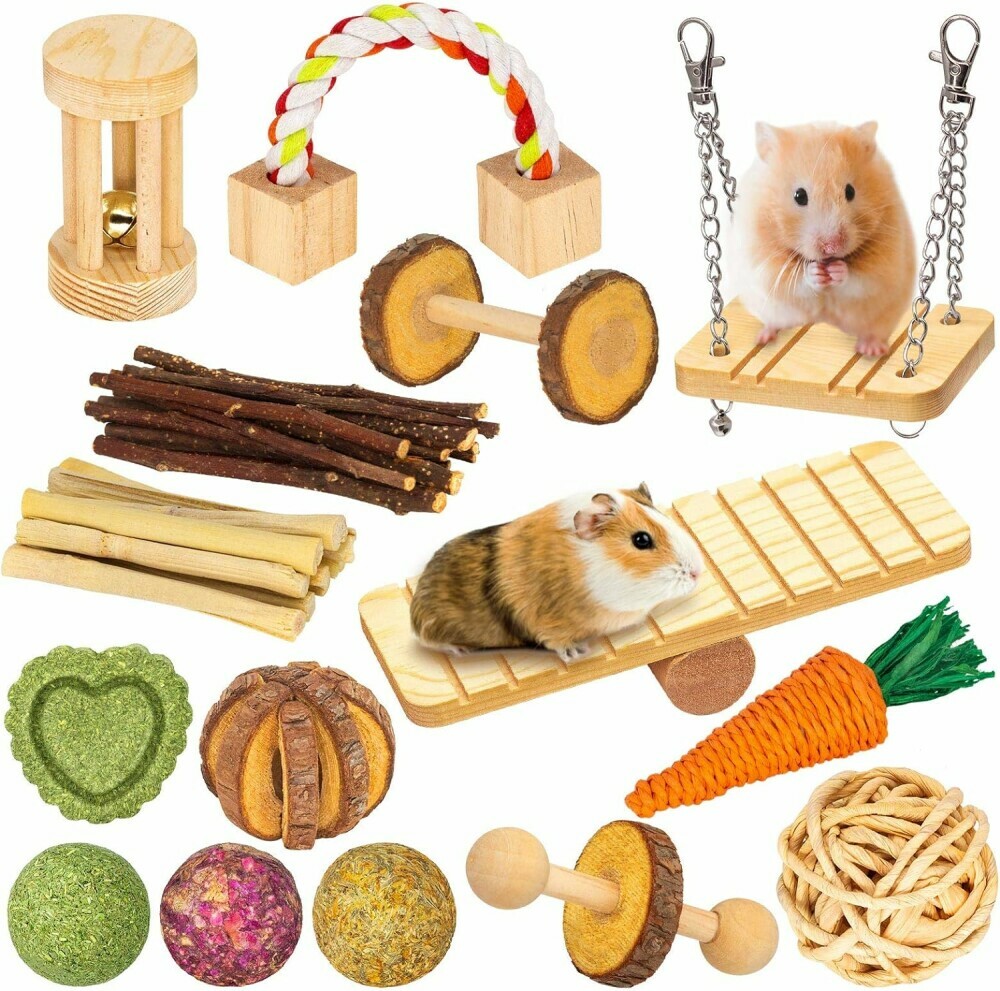
The inclusion of toys, tunnels, and hideouts will transform your DIY cage from a simple enclosure to a hamster playground. These additions provide more than just fun; they’re crucial for your hamster’s mental stimulation and well-being. Get creative with household items like toilet paper rolls or cardboard boxes—they’re not only economical, but hamsters also love them.
And when it comes to decking out your hamster’s new pad, make choices that will keep your furry friend out of harm’s way. Only non-toxic, chew-safe items should make the cut. Skip the plastic where possible, and when in doubt, stick to natural materials. Your hamster will appreciate it, and you’ll rest easy knowing there’s nothing hazardous within nibble range.

Building Your Hamster’s Home: Sustainable and Budget-Friendly Ideas
Imagine crafting a home for your hamster that’s not just a delight for your furry friend but also eco-conscious and kind to your wallet. That’s exactly what you’re going to find out about in this section. Here, I’ll guide you through using repurposed materials and budget-friendly hacks to build a DIY hamster cage that’s both sustainable and affordable.
Repurposing items for your hamster’s habitat can be a win-win. You reduce waste, tap into your creativity, and provide your pet with a unique living space. A clear storage bin can transform into a spacious enclosure, or an old bookshelf may become a multi-level hamster haven. Look for materials that are safe for your hamster and easy to clean. Remember, the goal is to use resources wisely without sacrificing your hamster’s quality of life.
When it comes to sustainability, your choice of bedding and substrates matters. Aspen shavings or recycled paper bedding is a fantastic way to keep things eco-friendly. These options aren’t just better for the planet; they’re also safer for your hamster compared to other bedding varieties that can be harmful if ingested.
Budget doesn’t have to mean boring when you’re equipped with innovative cage hacks. From organizing containers as food storage to customizing simple wooden frames with mesh for climbing, your DIY skills can shine without breaking the bank. It’s all about focusing on function over form, choosing something that resonates with your practical needs and those of your pet.
Finally, consider this: sometimes the most rewarding part of DIY is the process itself. As you plan and build your hamster’s new home, remember to enjoy the journey. Your care and attention reflect not just in the materials you use but also in the love you put into every detail of the construction. That’s what your hamster will appreciate most.
Crafting a Haven for Your Hamster: Final Thoughts on DIY Cages
In my opinion, the heart of creating a DIY hamster cage is about making a tailor-made haven that meets your hamster’s needs while also reflecting your love and care. Whether you’re drawn to a minimalist design or an elaborate setup, the key is to prioritize your pet’s safety, comfort, and happiness.
You’re going to find out that DIY doesn’t mean compromising on quality. By using the right materials and incorporating the knowledge shared here, you can build a cage that’s not just functional and affordable but also truly unique.
Remember, your first attempt doesn’t need to be your last. You can always adjust your approach down the road. After all, the needs of your hamster and your own understanding of their behavior may evolve over time—and so can their habitat.
Choose something that resonates with you and, most importantly, will make your hamster thrive. From repurposed cabinets to customized aquariums, the options are boundless, and the rewards are immense. When your hamster explores their new, engaging environment with gusto, that’s when you know you’ve done it right.
I really hope that this guide has inspired you to embark on your own DIY hamstery project. If you ever feel stuck or need a bit of guidance, don’t worry too much about it—there’s a whole community of fellow hamster enthusiasts out there ready to share their insights and experiences. So, go ahead, create something special, and don’t forget to have fun along the way!

